Technique
Even though a number of steps won't be enumerated, here is an overview of the technic especially formulated to render the unique style of Wildlife paintings collection.
SKETCHES
It all starts with clumsy pencil lines on paper and some scribble words. Sometimes they will translate into an important creation, sometimes it will never go beyond the sheet of paper. We never know. At this stage, every idea is equal.
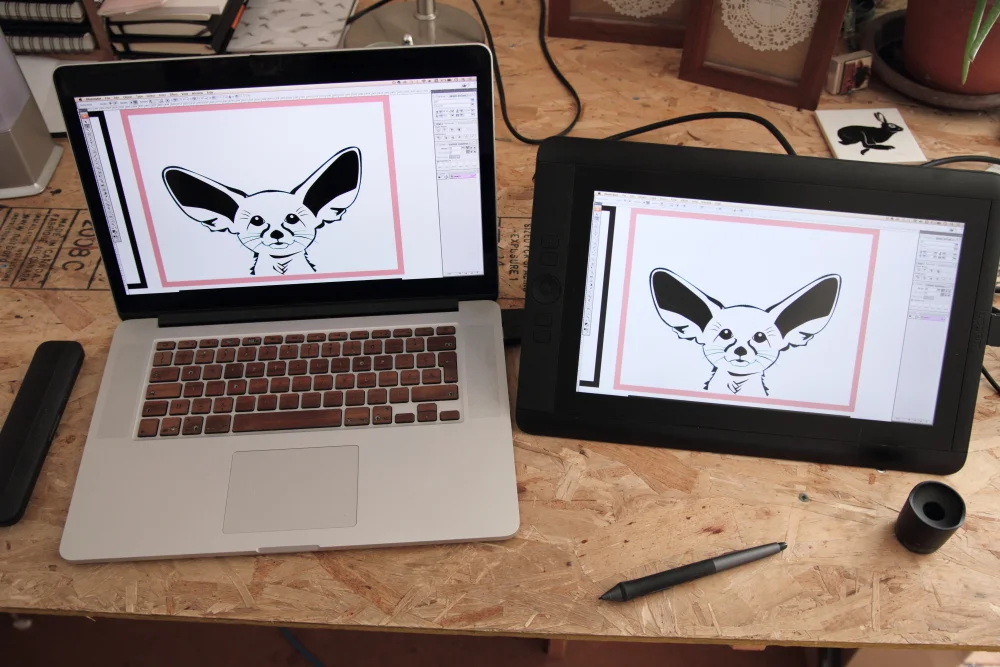
Vector llustration
In order to obtain slick strokes and bold image, the croquis is rendered in vector with a graphic pad.
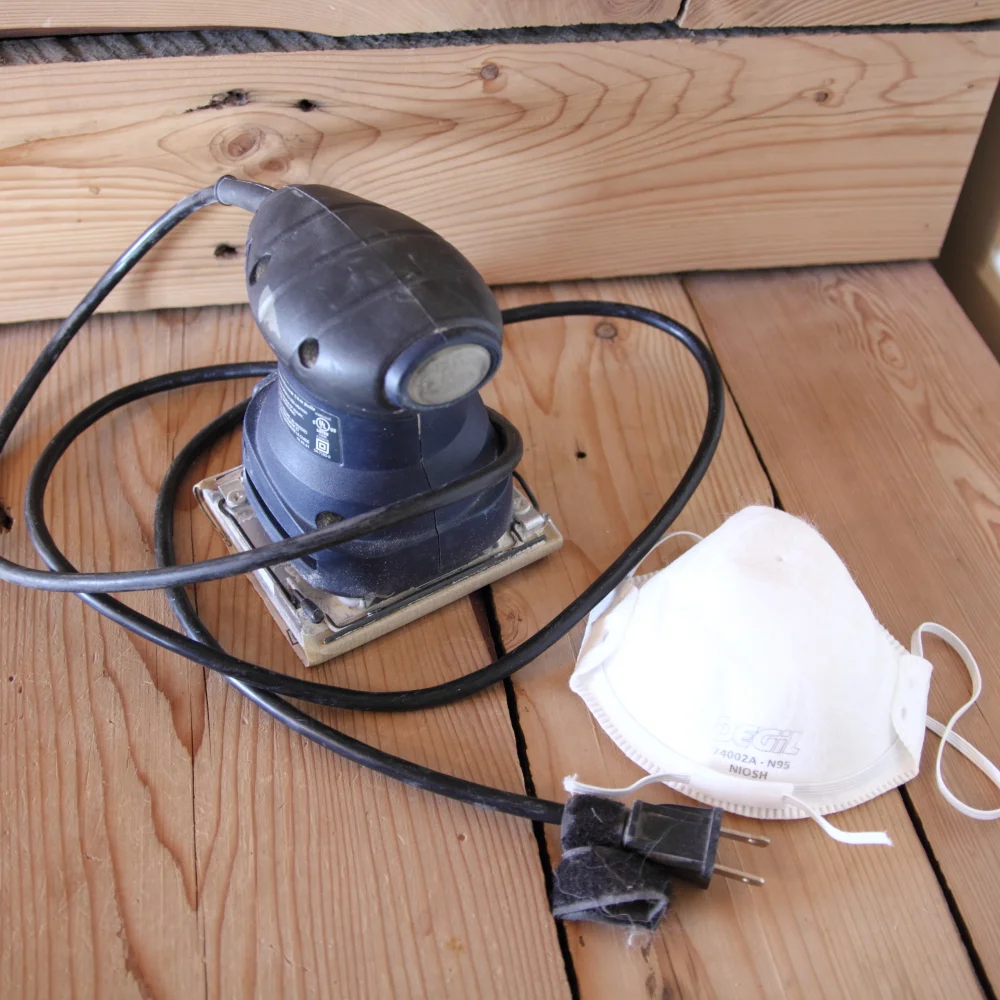
Wood preparation
The wood is sanded, prior to the first layer of paint. Then, in between the layers, multiple sanding will also follow, with number of different sandpaper weight.
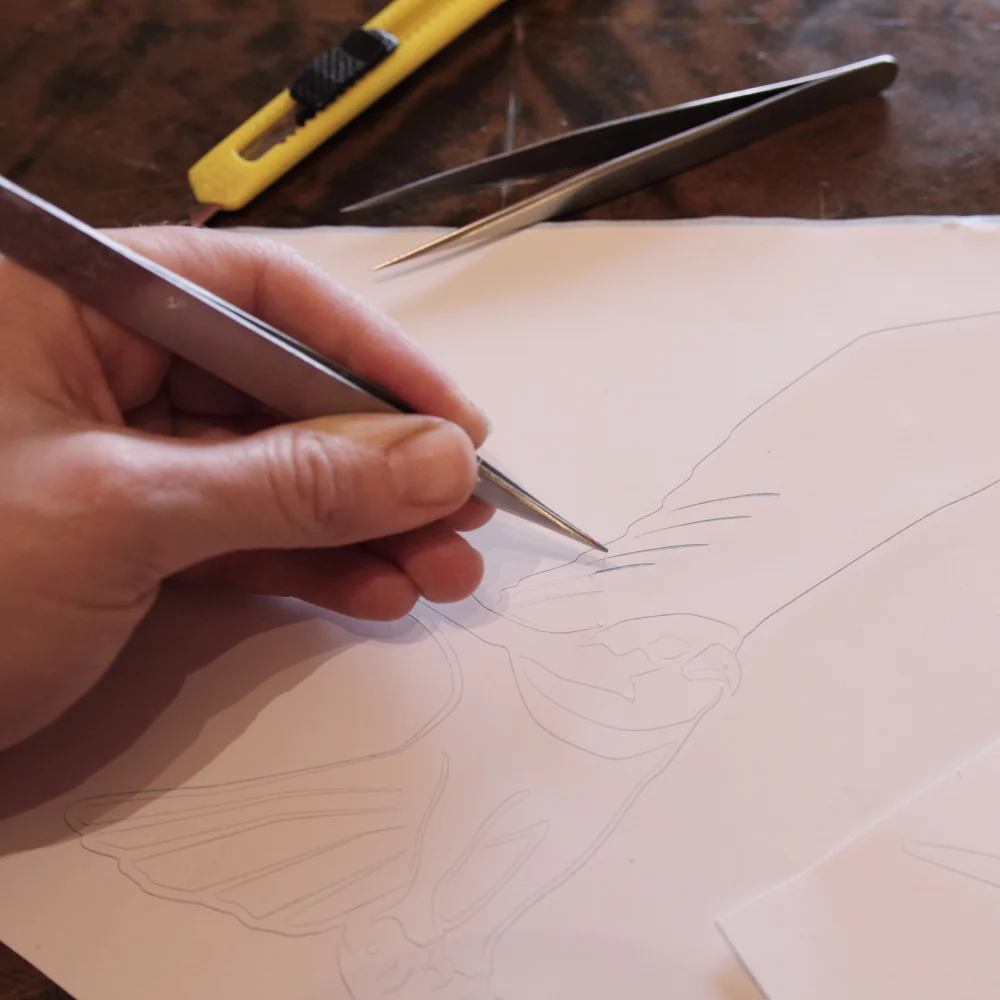

Stencil preparation
The stencil is cut and the areas to be painted are removed with great finesse. The stencil is then carefully applied to the wood. Small patterns are extremely delicate to cut, while large patterns are difficult to place correctly on the wood without the stencil creases or deforms. Each format has its own set of challenges and a damaged stencil must be discarded.
Paint
Layers of paint are superimposed, one on top of the other, as the color becomes more vivid. The waiting time between layers is sometimes tortuous while the impatience to see the work in all its colors intensifies.
Vernis
Three layers of varnish are then applied, offering a radiance to the colors while protecting the wood and paint.